Struggling to get your brand's logo just right on your polos? The embroidery can look cheap or puckered. I will show you the professional process for a perfect stitch every time.
The embroidery process involves six key steps: design finalization, digitizing the artwork into a stitch file, preparing the polo with backing and hooping, setting up the embroidery machine, the actual stitch-out, and finally, trimming and finishing. Each step ensures a premium, durable finish for your brand.

Getting that crisp, professional logo on a golf polo is not just about pushing a button on a machine. It is a craft. I have spent years in my factory perfecting this process, and I want to walk you through it step-by-step. Let's start at the very beginning, where a great idea becomes a reality. This is where many mistakes happen, so it is important to get this right.
How Do You Turn a Design into an Embroidery File?
Is your logo losing detail when embroidered? This can happen when the digital file is not properly prepared. I will explain the critical first steps, digitizing and design review, which prevent these issues.
We first finalize the design with you, then turn it into an embroidery file through digitizing. This uses special software to convert artwork (like a JPEG or AI file) into a stitch file. This file tells the machine exactly where to place each stitch for a clean look.

This process is more than a simple file conversion. It is an art form that directly impacts the final quality. I always start with a detailed review of the client's logo.
Step 1: Design Finalization and Review
Before we even think about a needle and thread, we look at the artwork. We check for small text or tiny details that might not translate well to embroidery. Sometimes, we need to slightly simplify a logo to ensure it looks clean and is readable when stitched. We also confirm the exact colors using Pantone (PMS) color codes. This ensures your brand colors are perfectly matched. This step is a conversation, making sure the final embroidered logo will meet your expectations before any production starts. It saves a lot of time and potential disappointment later.
Step 2: Digitizing the Logo
Once the design is approved, my digitizing team takes over. They use specialized software to manually plot every single stitch. They decide the stitch type, stitch direction, and stitch density. For example, a satin stitch might be used for text, while a fill stitch is used for larger areas. This is where experience really counts. A good digitizer knows how the fabric will react and plans the stitch path to prevent the fabric from puckering or pulling. The final output is a special file, usually a .DST or .EMB file, that the embroidery machine can read.
How Do We Prepare the Polo for Flawless Embroidery?
Does your embroidered logo look wrinkled or unstable on the shirt? This often comes from poor preparation. Proper backing and hooping are the secrets to a flat, professional-looking logo.
We prepare the polo by adding a stabilizer, or backing, to the back of the fabric where the logo will be. Then, we use a tool called a hoop to securely clamp the fabric and backing together. This creates a stable and taut surface, which is essential for precise stitching.

These physical preparation steps are just as important as the digital ones. The best stitch file in the world will not work if the shirt is not set up correctly. It's like trying to paint on a flimsy piece of paper instead of a taut canvas.
Step 3: Polo Preparation and Backing
First, we choose the right backing, also known as a stabilizer. For stretchy golf polo fabrics like pique knit or performance polyester, a "cut-away" stabilizer is usually best. This type of backing is a permanent piece of non-woven fabric that stays with the shirt after embroidery. It provides continuous support so the logo does not warp or stretch over time, even after many washes. We carefully place a piece of this backing behind the logo area. It must be larger than the design itself. I have seen many brands try to save money with cheaper "tear-away" backing, but it just does not provide the same long-term stability for knit fabrics.
Step 4: Hooping the Garment
Next comes hooping. A hoop is a pair of rings, one fitting inside the other, that clamps the fabric and backing together. The goal is to make the fabric taut, but not stretched. If you stretch the fabric in the hoop, it will spring back to its normal size after embroidery, causing the fabric around the logo to pucker. This takes a skilled hand. My team uses placement guides to ensure that every single logo is placed in the exact same spot on every shirt, whether it is the left chest, the sleeve, or the back yoke. Consistent placement is a key sign of a professional operation.
What Happens During the Final Stitching and Finishing Stages?
Ever wonder how the machine actually creates the logo? Or what happens after? The stitch-out is fast, but the final steps of trimming and inspection are what create a truly premium garment.
During the stitch-out, the hooped polo is locked into the embroidery machine, which follows the digitized file to stitch the design. Afterwards, we un-hoop the shirt, trim the excess backing, remove any stray threads, and give it a final press and inspection for quality.

This is where all the preparation comes together to create the final product. It is a combination of modern technology and old-fashioned attention to detail.
Step 5: The Stitch-Out Process
The hooped garment is now locked into the embroidery machine. We load the digitized file, make sure the right thread colors are in the right needle positions, and run a trace function. The trace makes the machine move the needle around the outline of the design without stitching, just to double-check that the placement is correct and it will not hit the hoop. Then, the process starts. High-speed, multi-head machines can stitch multiple shirts at once, with the needle moving at hundreds or even thousands of stitches per minute. My operators watch the process carefully to spot any potential issues like a thread breaking or a needle going dull. I always tell them to run a test sample on a scrap piece of the same fabric before starting a large production run. This helps confirm that the density and tension settings are perfect.
Step 6: Finishing, Trimming, and Quality Control
Once the machine finishes, the work is not done. We carefully remove the shirt from the hoop. Then, we turn it inside out and use special scissors to trim the excess cut-away backing close to the design. On the front, we meticulously trim any small threads that connect different letters or parts of the design. A clean finish is non-negotiable. Finally, we might use a steamer or a light press to remove any hoop marks and ensure the logo sits perfectly flat. Every single shirt gets a final quality check to make sure it is flawless before it gets folded and packed. This last step is what separates a good product from a great one.
Frequently Asked Questions
What is 'stitch count' and how does it affect the price?
Stitch count is simply the total number of stitches needed to create your design. It's the biggest factor in determining the price. A larger, more complex logo with solid-filled areas will have a much higher stitch count than a small, simple text logo. More stitches mean more machine time and more thread, which increases the cost.
Can you embroider on modern performance fabrics?
Yes, absolutely. This is one of our specialties. Stretchy, lightweight performance fabrics require special handling. We use a specific type of 'cut-away' or 'no-show' stabilizer that provides support without being visible or bulky. We also use special ballpoint needles that slide between the fabric fibers instead of piercing them, which prevents runs or holes in the delicate material.
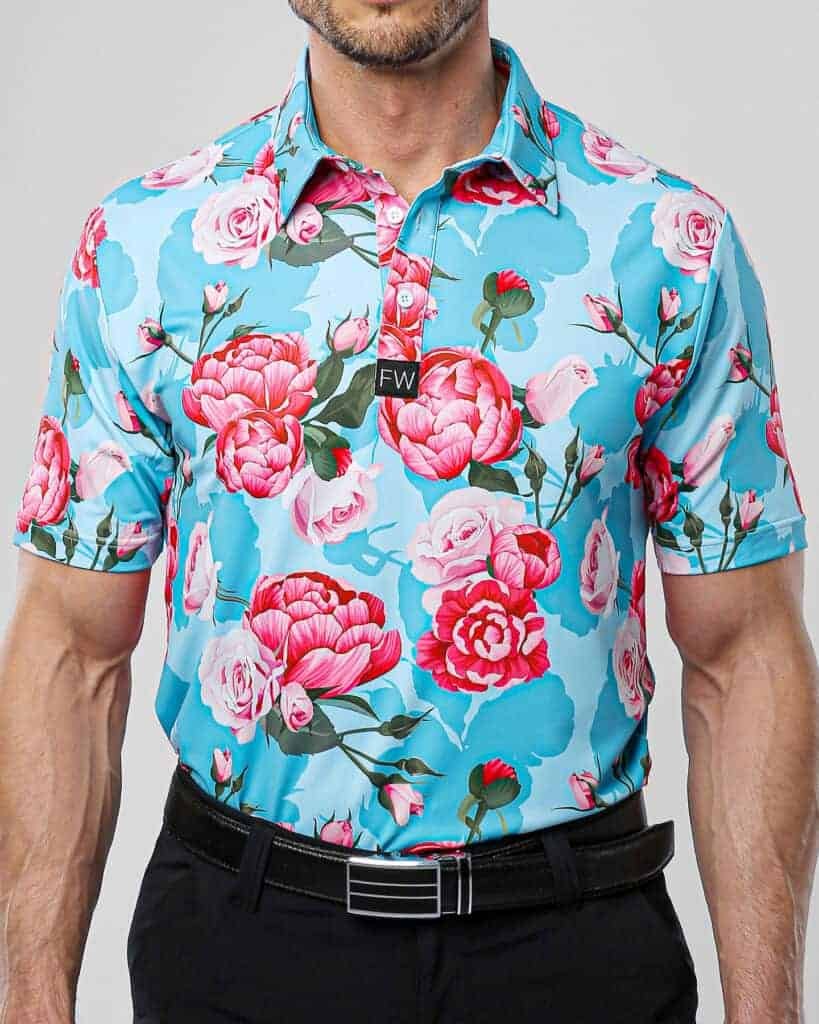
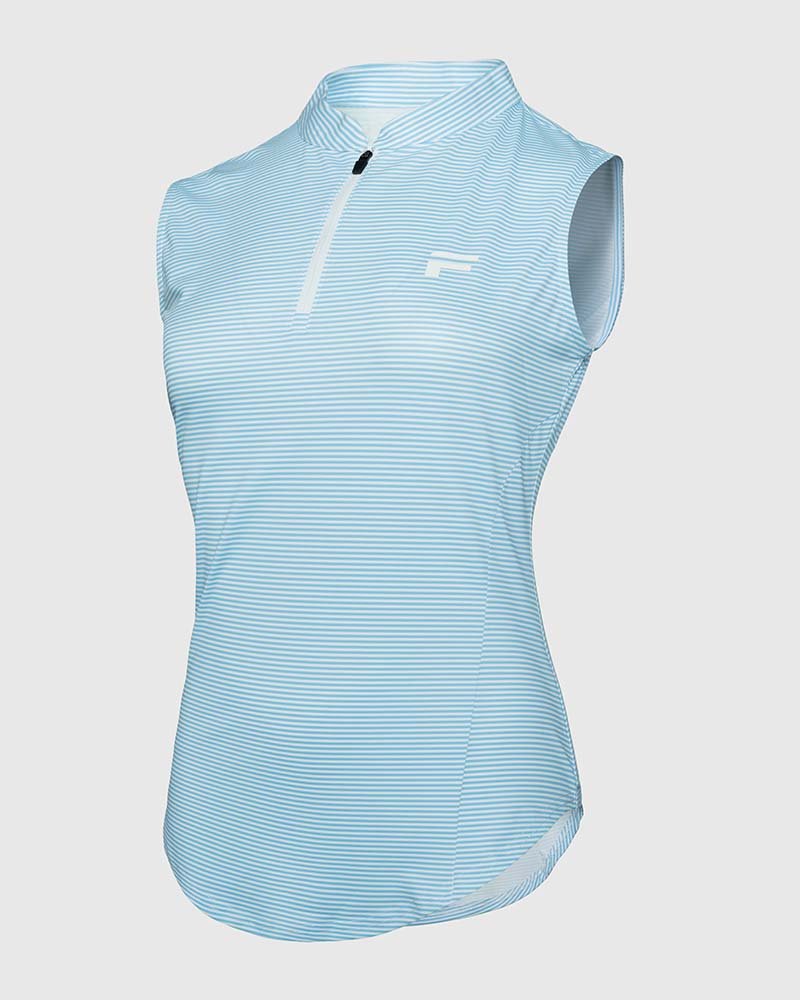
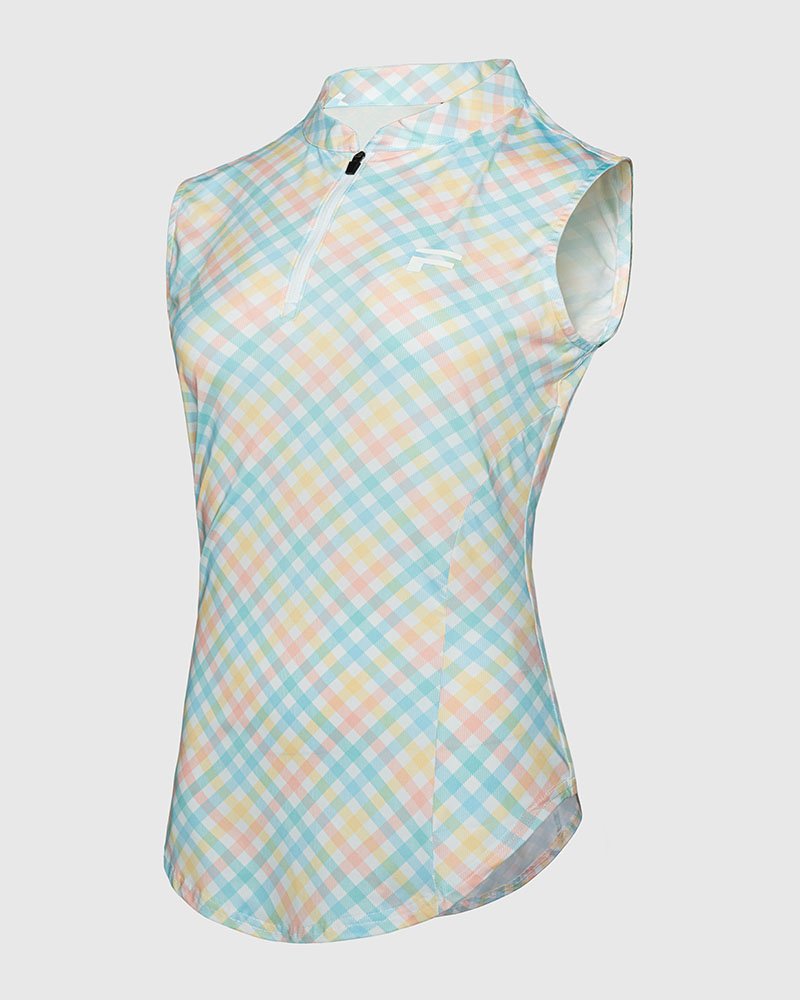
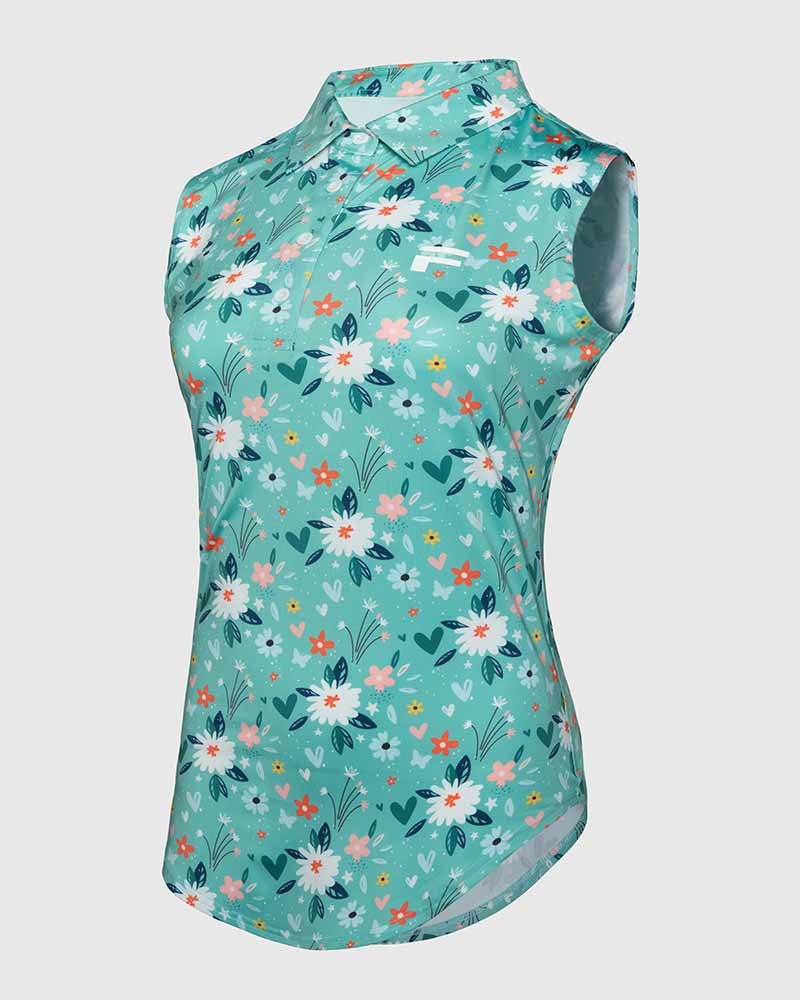
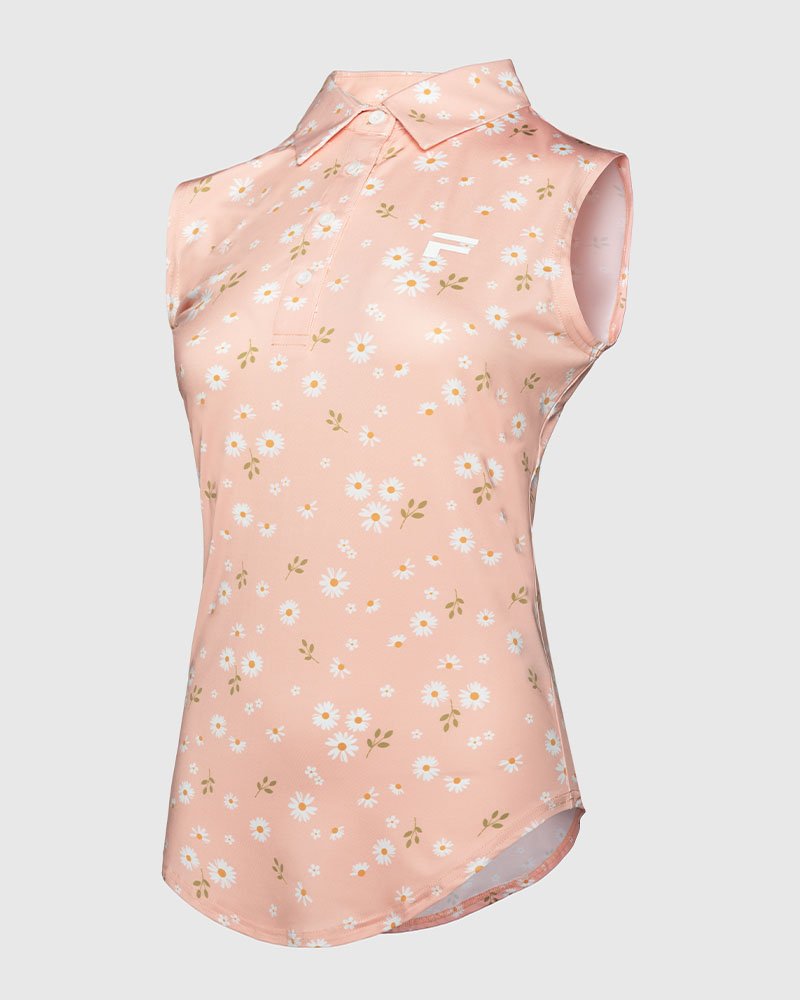
What are the best locations for a logo on a golf polo?
The most classic location is the left chest, where the heart is. It's traditional and always looks good. However, for a more modern or professional tour look, we often place logos on the sleeve (left or right) or on the back yoke, right below the collar. Using multiple locations can give your polo a premium, highly branded feel.
How do you ensure the embroidery will be durable and last?
Durability comes down to two things: materials and technique. We use high-quality polyester thread that is resistant to color fading from UV light and bleach. It's made to withstand sweat and frequent washing. We also use a quality stabilizer that stays with the garment to ensure the stitches don't stretch or pull over time, even after a hundred rounds of golf.
Conclusion
From a digital file to a finished garment, these six steps ensure every embroidered polo meets the highest standards. Mastering this process is key to building a reputable golf apparel brand.