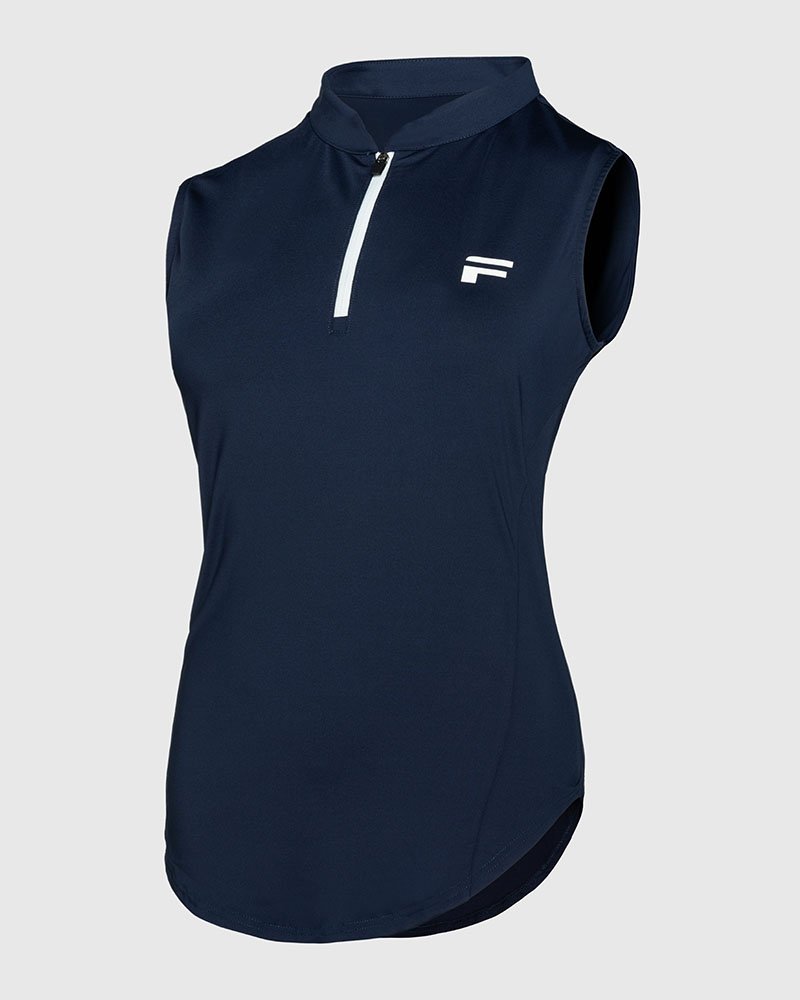
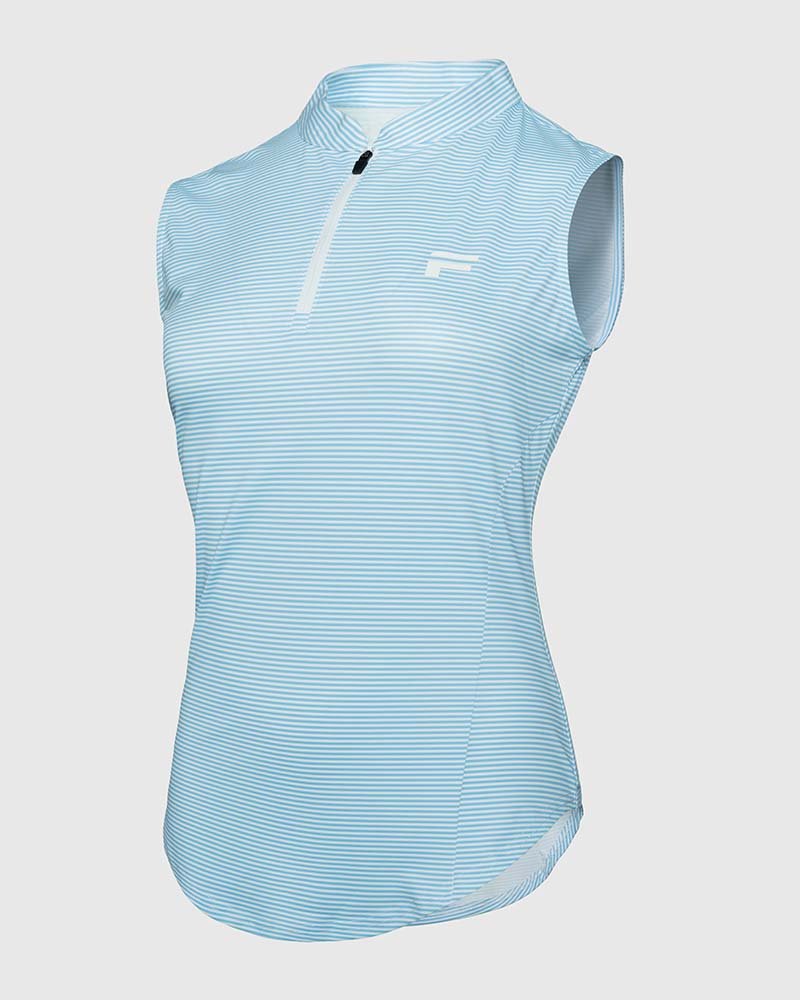
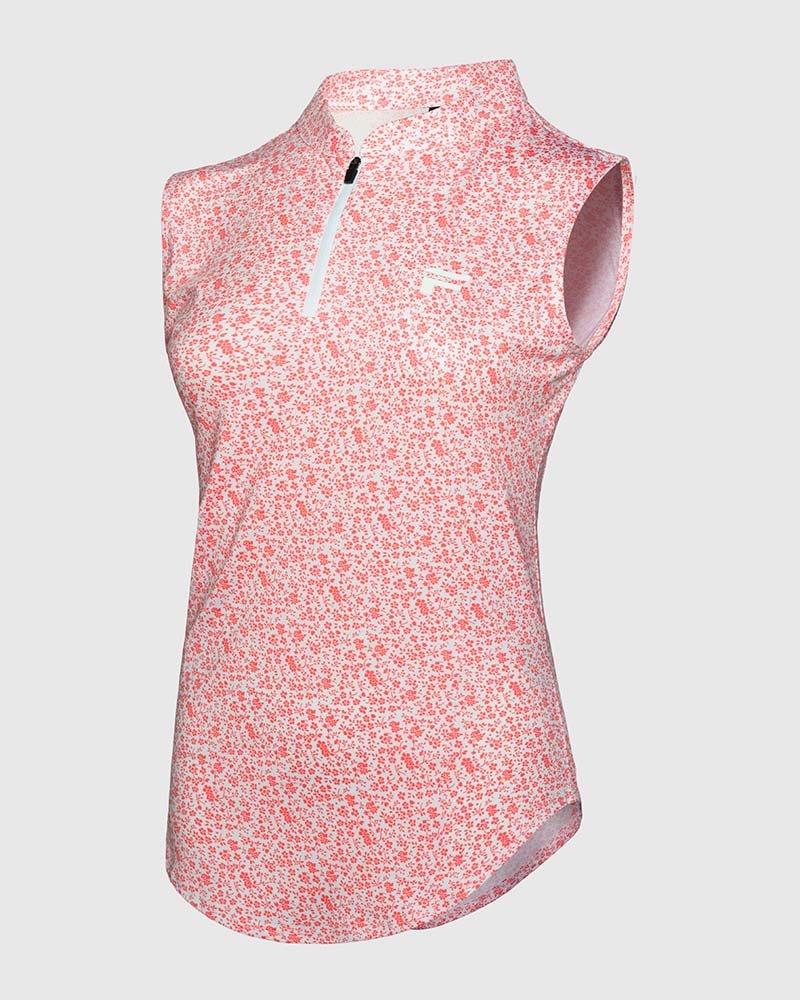
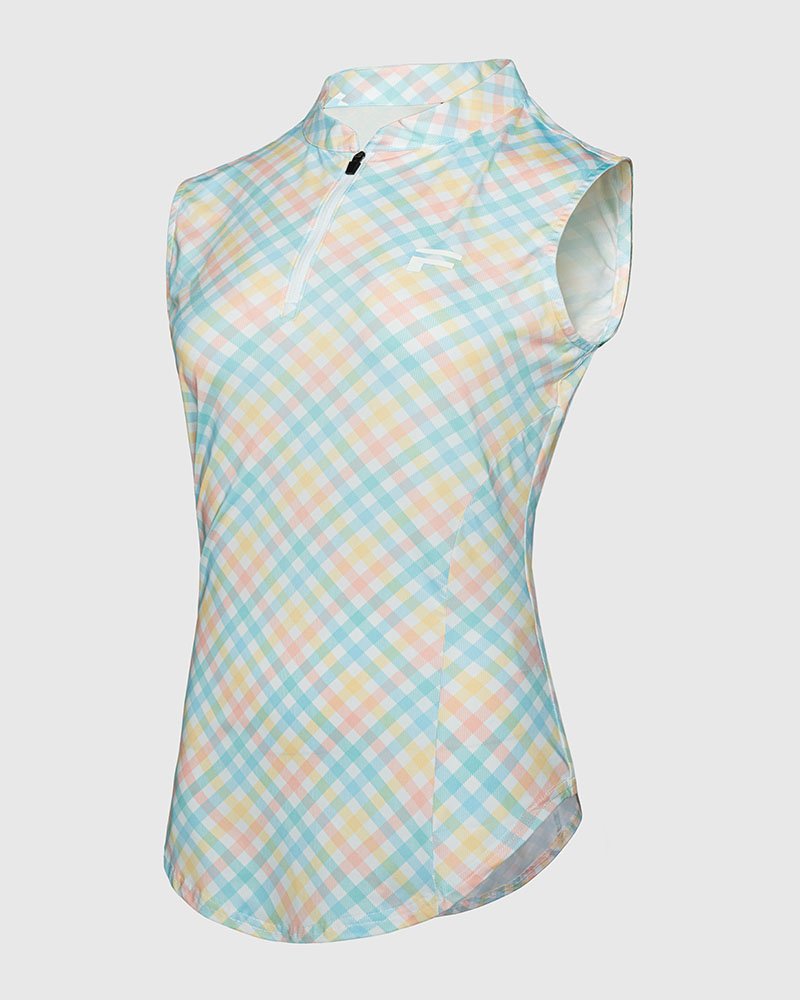
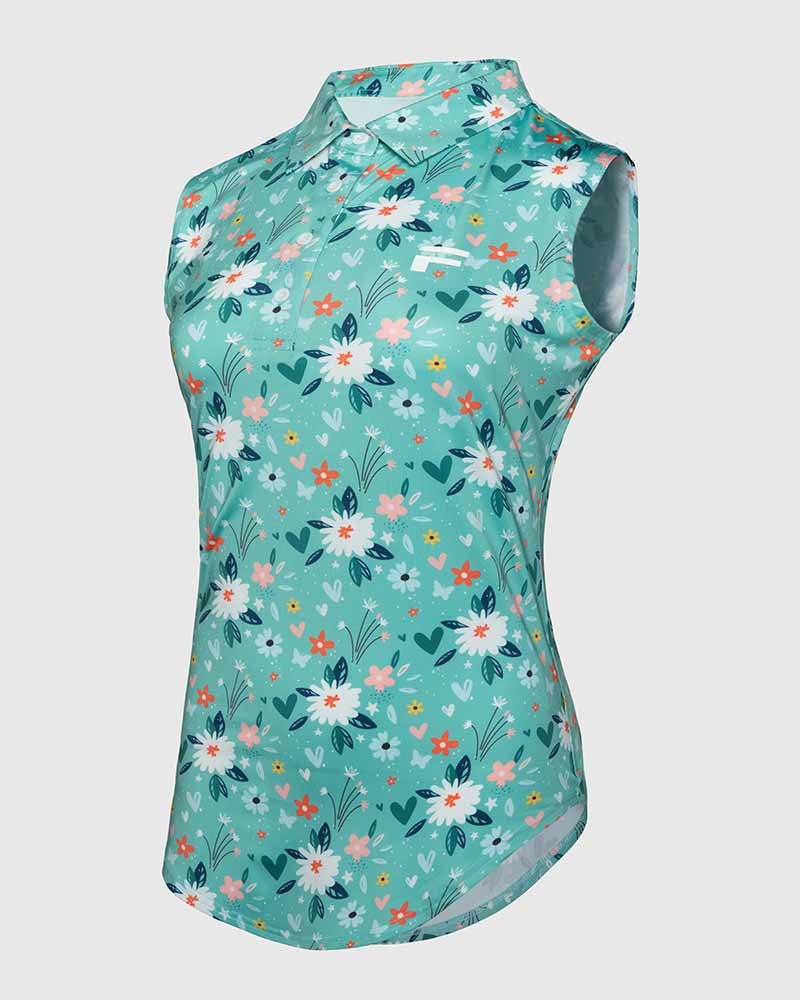
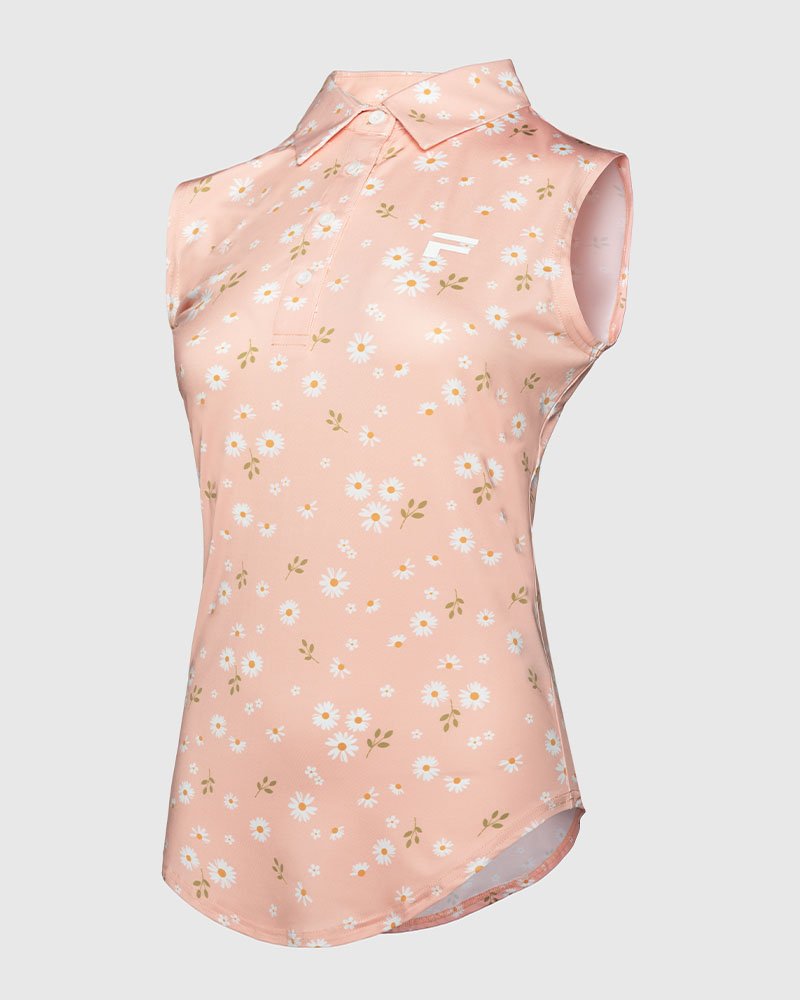
Want amazing, all-over prints but do not know the process? Traditional methods are limited and costly, making it hard for your brand to stand out on the course.
The secret is sublimation printing. This process uses heat to turn ink into a gas that permanently dyes polyester fabric. It creates vibrant, fade-proof, all-over prints that never crack or peel, perfect for high-performance golf apparel.
When I first started in a textile factory, printing was a messy, limited business. Today, sublimation has completely changed the game, and I have built my company, FUWAY, on perfecting this technology. For a brand owner like Bobby, understanding how it works is not just a technical detail; it is a creative superpower. Knowing the process helps you design better products and communicate your vision clearly. Let me walk you through the five simple steps that take your idea from a computer screen to a finished, beautiful golf shirt.
Step 1: How Do You Finalize the Digital Design File?
Your designs look great on screen, but they might not print well. Using the wrong file type can lead to blurry, disappointing samples, which wastes both your time and money.
Everything begins with a high-resolution digital file, usually in a vector format like Adobe Illustrator (.AI) or EPS. This ensures your design stays perfectly sharp when scaled to fit the different sizes of polo pattern pieces, delivering a professional result.
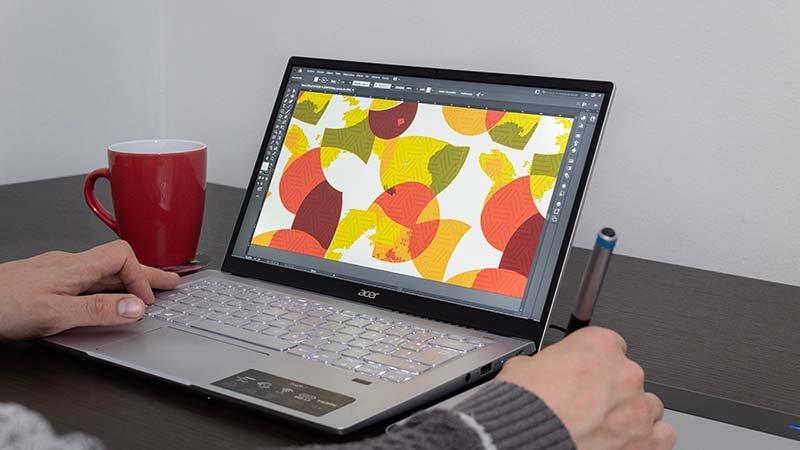
The design file is the blueprint for your entire product, so getting it right is the most important first step. In my factory, we always emphasize this to new brand owners. A great idea can be ruined by a poor-quality file. We work with vector files because they are made of mathematical lines and curves, not pixels. This means we can stretch a logo to fit the back of a shirt or shrink it for a sleeve without it ever getting blurry. If you use a pixel-based file like a JPG, it must have a very high resolution (at least 300 DPI) to avoid looking fuzzy. Think of it this way: a vector file is a recipe we can make any size, while a pixel file is a photo that gets grainy if you zoom in too much. Getting this right from the start saves a lot of headaches later on.
Vector vs. Raster: What a Brand Owner Needs to Know
| File Type | How It's Made | Best For | Why It Matters |
|---|---|---|---|
| Vector (.AI, .EPS, .SVG) | Math equations and lines | Logos, patterns, text | Infinitely scalable without losing quality. Guarantees a sharp print. |
| Raster (.JPG, .PNG, .PSD) | Pixels in a grid | Photographs, complex textures | Quality depends on resolution (DPI). Can become blurry if enlarged. |
Step 2: How Is the Design Printed onto Transfer Paper?
You have sent the perfect design file to your manufacturer. What happens next? The magic of sublimation is not just in the final press; this printing stage is critical for achieving vibrant color.
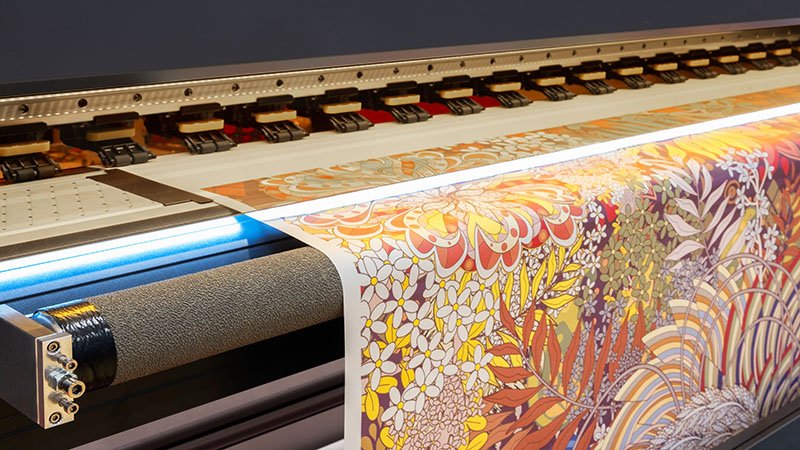
Your digital design is printed onto special sublimation transfer paper using a large-format printer. This commercial printer uses unique sublimation inks, which are solid particles suspended in a liquid carrier. The paper holds the ink, ready for heat transfer.
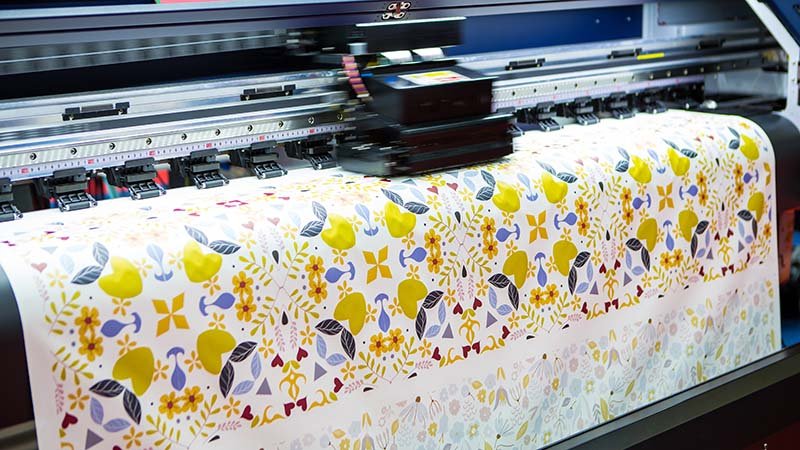
This step is where your digital vision becomes a physical object. The equipment we use is highly specialized. The printers are often several feet wide to handle large rolls of paper, allowing us to print all the pieces for multiple shirts at once. The ink is the real star here. It's not like the ink in your desktop printer at home. When heated, this solid dye skips the liquid phase and turns directly into a gas, which is the "sublimation" process. The transfer paper is also special. It has a coating designed to hold the ink on its surface and then release it completely when heated. A good manufacturer will have their printers, inks, and papers perfectly calibrated to produce consistent, rich colors every single time. This consistency is essential for your brand's reputation.
Key Components in the Printing Stage
| Component | Its Specific Role in the Process |
|---|---|
| Large-Format Printer | Accurately prints the digital design onto wide rolls of transfer paper. |
| Sublimation Ink | Solid dye that turns into a gas when heated to dye the fabric fibers. |
| Transfer Paper | A coated paper that holds the ink and then releases it under heat and pressure. |
Step 3: What Fabric is Used and Why is it So Important?
Can you sublimate on just any t-shirt? Many people ask this, but choosing the wrong fabric, like 100% cotton, will result in a faded, washed-out disaster after the first wash.
Sublimation exclusively works on synthetic materials, so we use 100% polyester or high-polyester blend fabrics. This is a scientific requirement, as the sublimation gas bonds only with polymer fibers. We use white fabric to ensure true, vibrant color reproduction.
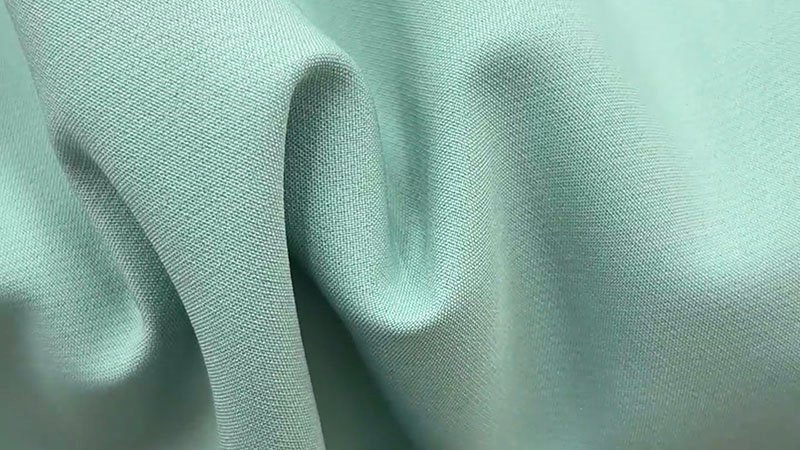
Here is the simple science behind it: the sublimation process is basically a fabric dyeing method. The ink, in its gas form, is a dye that is specifically attracted to polyester (polymer) fibers. When the fabric is heated, the pores of these synthetic fibers open up, and the gas-based dye goes inside. As it cools, the pores close, permanently trapping the color inside the fiber itself. That is why it never fades or cracks—the color is part of the fabric, not sitting on top of it like a screen print. Cotton, on the other hand, is a natural fiber. Its pores do not open up in the same way, and the ink has nothing to bond with, so it just washes right off. For brand owners like Bobby who value performance and visual appeal, polyester is the perfect canvas for sublimation.
Fabric Suitability for Sublimation
| Fabric Type | Sublimation Result | Feel & Performance | Best Use Case |
|---|---|---|---|
| 100% Polyester | Extremely vibrant, sharp, and permanent colors. | Lightweight, moisture-wicking, athletic feel. | The ideal choice for high-performance golf polos. |
| Polyester Blend (80%+) | Good color vibrancy, slightly less sharp than 100%. | Can have a softer, more cotton-like feel. | Good for lifestyle polos where feel is prioritized. |
| 100% Cotton | Fails completely. Colors will be extremely faded and wash out. | Soft, breathable, but not for sublimation. | Not suitable. Use screen printing or DTG instead. |
Step 4: How Does a Heat Press Transfer the Ink to the Shirt?
You have your printed paper and a piece of blank white polyester fabric. How do you combine them? The process looks like magic, but it is actually carefully controlled science.
The printed transfer paper is laid on top of the fabric, and both are placed into a large industrial heat press. At around 400°F (200°C), the heat turns the ink to gas, and pressure fuses it directly into the polyester fibers, permanently dyeing the fabric.
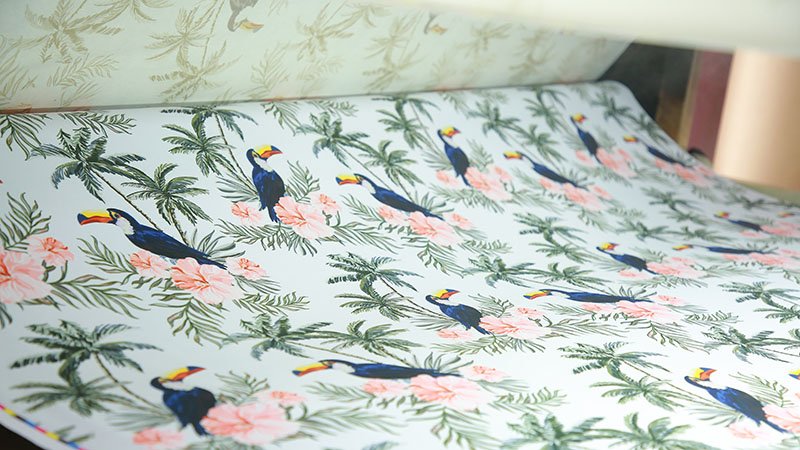
This is the moment of transformation. In my factory, you see these huge heat presses that can handle entire rolls of fabric. The operator carefully aligns the printed paper with the white polyester material. Once inside the press, three factors have to be perfect: time, temperature, and pressure. I call this the "triangle of sublimation." If the temperature is too low, the colors will look dull and washed out. Too high, and you risk burning or yellowing the white fabric. The pressure must be even and firm to ensure the ink transfers clearly across the entire design. We usually press for about 30 to 60 seconds. When the press opens, the paper is peeled away, now looking faded, and the fabric underneath is revealed with its new, vibrant, and permanent design. It is a process that still impresses me every time I see it.
The Triangle of Sublimation
| Factor | Why It's Critical | The Risk of Getting It Wrong |
|---|---|---|
| Temperature | Activates the ink, turning it from solid to gas, and opens the fabric pores. | Too low = dull colors. Too high = burnt fabric. |
| Time | Allows the gaseous ink enough to time to fully transfer and bond with the fibers. | Too short = weak colors. Too long = blurry print. |
| Pressure | Ensures close, even contact between the paper, ink, and fabric. | Uneven pressure = blotchy, inconsistent results. |
Step 5: What Are the Final Steps of Cutting and Sewing?
The fabric is beautifully printed, but it is still just a flat piece of material. A poor cutting and sewing job can completely ruin the effect of a brilliant, all-over print.
After the fabric cools, the printed sections—front, back, sleeves, and collar—are precisely cut from the rolls. Our skilled sewing team then assembles these pieces, adding buttons and labels to create the final, premium-quality golf polo shirt.
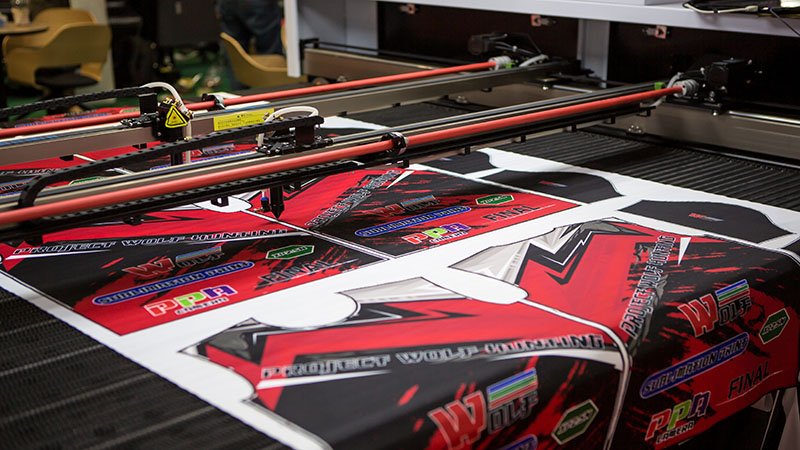
This final stage is where craftsmanship really shows. Because we sublimate the fabric before it is assembled, this is called "cut-and-sew" manufacturing. It is the only way to get those incredible, seamless designs that wrap perfectly around the body and across the seams. Less expensive methods might try to sublimate a small logo onto a pre-made blank shirt, but that severely limits your design options. At FUWAY, we use laser cutters or precise pattern templates to cut each piece. Then, our experienced stitchers take over. They carefully align the patterns at the seams, attach the collar, create the placket for the buttons, and hem the sleeves. A final quality control check ensures every stitch is perfect before the shirt is folded, packed, and ready to represent your brand. This attention to detail in the final assembly is what separates a good polo from a great one.
Answering Your Top Sublimation Printing Questions?
Feeling uncertain about the practical details of sublimation? This can lead to costly mistakes in design or budget. Let’s get you the answers you need to move forward confidently.
Sublimation is cost-effective for complex, low-volume prints and does not affect breathability. Its main limitation is it only works on white or light-colored polyester, as the process dyes fabric and cannot print opaque white.
After explaining the five steps, brand owners often have more detailed questions about how sublimation compares to other methods and its specific limitations. These are great questions, and the answers are crucial for making smart business decisions. Here are the most common things people ask me.
Is sublimation more expensive than screen printing?
It depends on two things: design complexity and order quantity. For simple, one or two-color logos on a large run of shirts, screen printing is cheaper. But for full-color, all-over patterns, sublimation is far more cost-effective, especially on smaller orders. Sublimation has one setup cost for any design, while screen printing requires a new screen for every single color, which adds up quickly.
Does the print affect the fabric's breathability or feel?
No, and this is a huge advantage for performance wear. Because the ink becomes part of the fiber itself, it does not create an extra layer on top of the fabric like screen printing does. The shirt remains just as soft, lightweight, and breathable as the unprinted material.
Can you print on dark-colored shirts?
No, this is the main limitation. Sublimation is a dyeing process, not a painting process. It adds color, but it is translucent, so it needs a white or very light-colored base to show true colors. Printing a yellow design on a blue shirt would result in a green design. It cannot print white at all.
Conclusion
From design file to finished garment, sublimation is a powerful, five-step process. Answering key questions reveals it's a cost-effective choice for vibrant, breathable apparel, perfect for new brands.


