
Ever wonder how a golf shirt goes from just fabric to something you’d proudly wear on the course? Let me walk you through the whole journey.
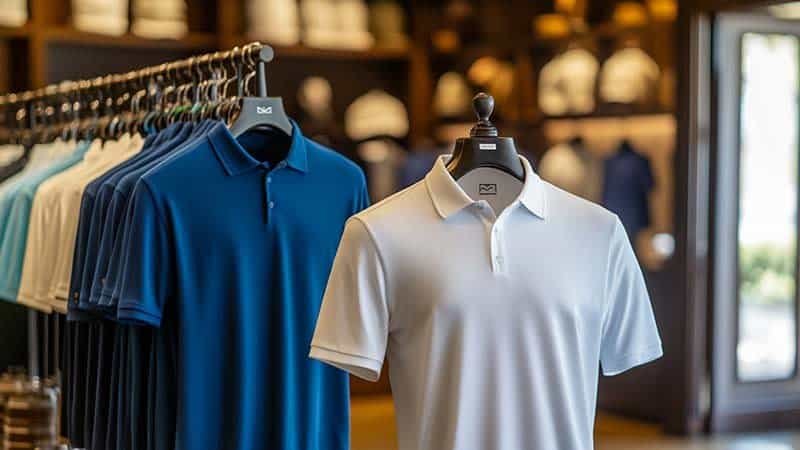
Golf shirts are made through a detailed manufacturing process that includes fabric selection, dyeing, cutting, sewing, and quality control.
It all starts with choosing the right performance fabric—often polyester or a poly-cotton blend—then moves through dyeing (for color), precise cutting with patterns, expert stitching, and finally, careful inspection. The process ensures each shirt feels good, looks sharp, and performs well on the green.
Let’s break it down step by step.
Best Fabrics for Golf Shirts: Choosing Materials for Comfort and Performance

Choosing the right fabric can be the difference between a shirt that distracts you and one that helps you focus on your swing.
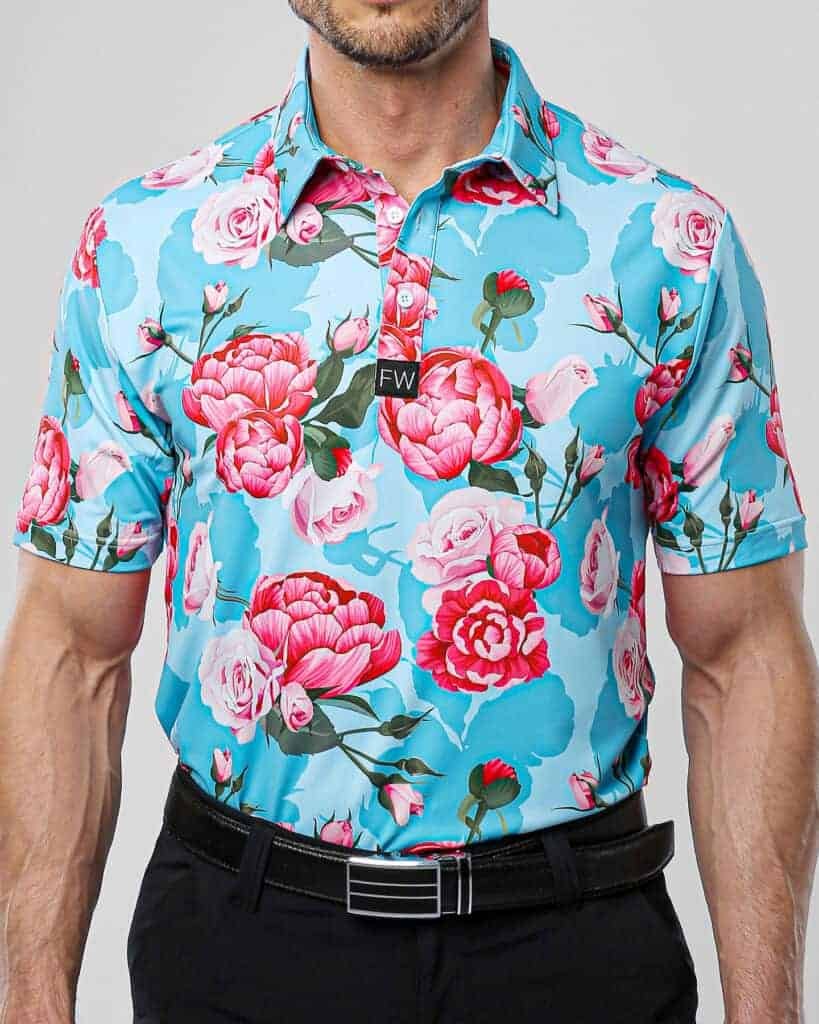
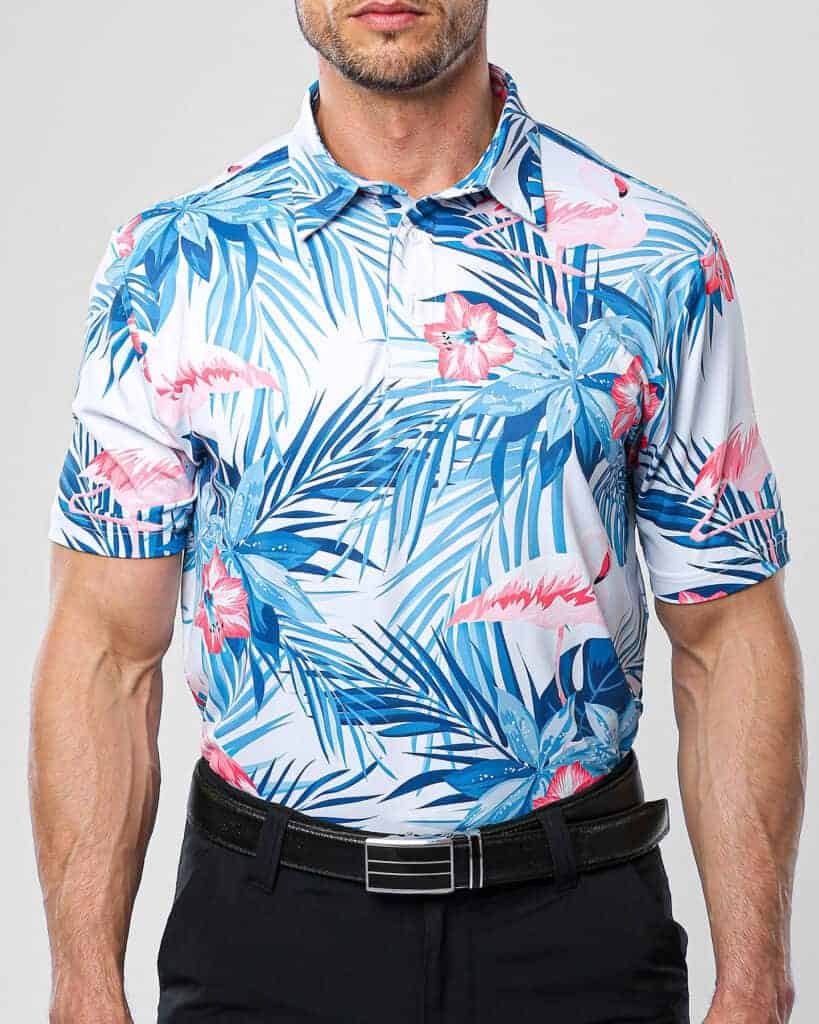
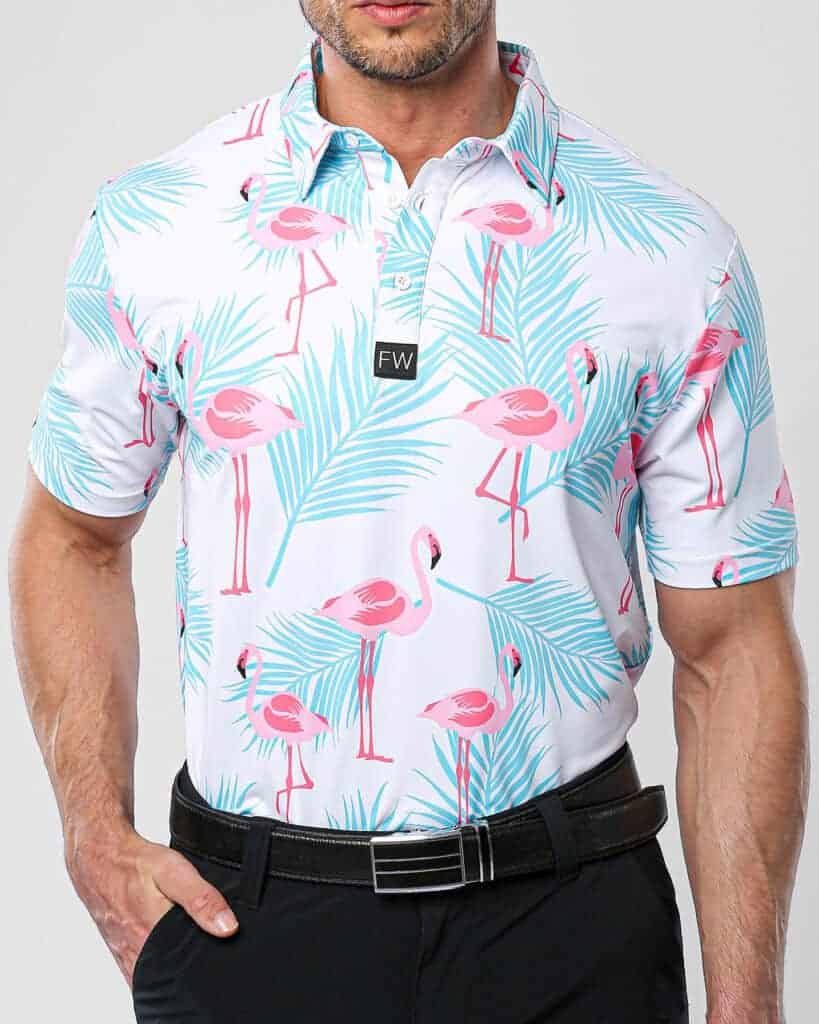
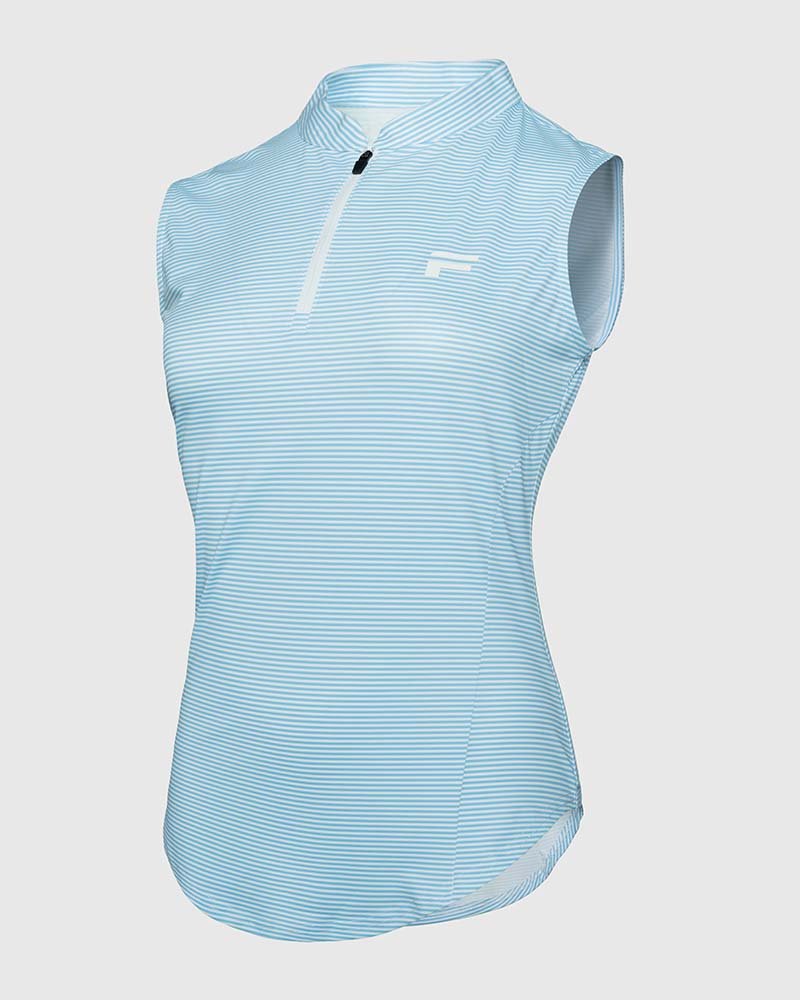
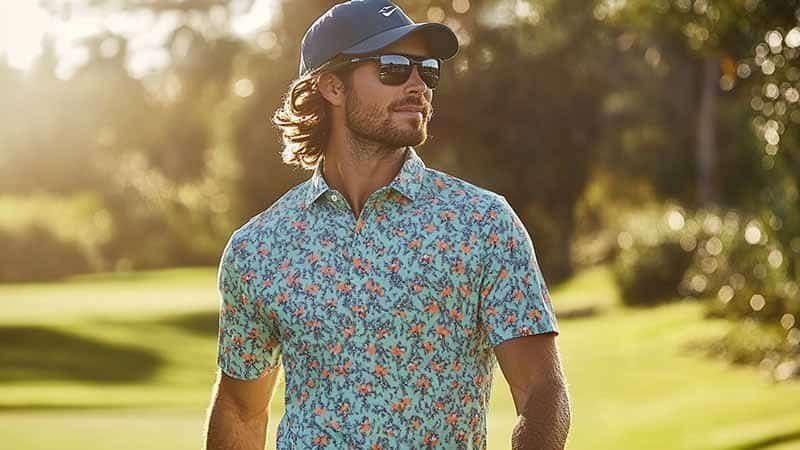
The best fabrics for golf shirts are moisture-wicking, breathable, and lightweight—commonly polyester, poly-spandex blends, or poly-cotton blends.
Polyester leads for its durability and quick-drying features, while spandex adds stretch and comfort. Cotton blends offer softness, making them ideal for casual rounds. Your final choice should match your playing conditions and performance goals.
Let’s take a closer look at what makes each fabric work (or not work) for golf.
(1) What makes a fabric good for golf shirts?
It all comes down to how it feels and how it performs.
A good golf shirt fabric needs to handle sweat, stretch with your swing, resist UV rays, and feel comfortable in different weather conditions.
Golf isn’t just about style—it’s a physical game. You need something that keeps up with your movement, breathes on hot days, and doesn’t turn into a soggy mess after a few holes.
Performance First, Style Close Behind
I still remember my first round in an old-school 100% cotton polo. By the 7th hole, it was sticking to me like a wet towel. Lesson learned: comfort on the course isn’t optional—it’s essential.
Here’s what to look for:
- Moisture-wicking: Keeps sweat away from your skin.
- Stretch: Allows a full range of motion during your swing.
- UV protection: Shields you from the sun, especially during long summer rounds.
- Breathability: Prevents overheating and discomfort.
Choosing the right fabric isn’t just about looks—it’s about performance. And once you’ve played in a shirt that does all the above? There’s no going back.
(2) Why is polyester so popular in golf shirts?
Because it just works. Period.
Polyester is the go-to fabric for most golf shirts because it’s durable, quick-drying, and holds its shape and color extremely well.
It doesn’t wrinkle easily, doesn’t shrink, and resists pilling. Plus, it pairs well with spandex or elastane for added stretch. For serious players or hot weather, it’s a no-brainer.
The Power of Polyester
I’ve worked with dozens of golf brands, and nearly every top-performing shirt in their lineups is made primarily from polyester. Why? It ticks all the boxes—especially when treated with moisture-wicking or antimicrobial finishes.
| Pros of Polyester | Cons of Polyester |
|---|---|
| Dries quickly | Can feel less soft |
| Lightweight | Not as breathable as cotton |
| Durable & fade-resistant | Less eco-friendly |
| Great for prints/designs | Can trap odors without treatment |
Many high-end performance shirts use polyester with spandex (usually 5–10%) to improve movement and fit. The result? A shirt that feels tailored but moves with you—like a second skin, not a straightjacket.
(3) What about cotton or cotton blends?
Cotton still has its place—especially for style and comfort off the course.
Cotton blends, especially poly-cotton, offer a balance of softness, breathability, and some moisture control.
While 100% cotton may be too absorbent for intense rounds, blends work well for casual golfers or cooler climates. They’re softer to the touch and feel more “lifestyle” than “performance.”
When Comfort Trumps Performance
There’s something classic about cotton. When I’m meeting friends for a twilight nine followed by drinks, I often reach for a poly-cotton blend. It’s soft, has that lived-in feel, and looks great on and off the course.
Here’s a quick breakdown:
| Fabric Blend | Best For |
|---|---|
| 50/50 Cotton-Poly | Casual wear, social rounds |
| 60/40 Poly-Cotton | Light performance, all-day wear |
| 95/5 Poly-Spandex | High-performance active play |
The key is knowing when and where to wear them. If you’re walking 18 in July? Maybe leave the cotton at home.
(4) Are there any eco-friendly fabric options?
Yes, and they’re getting better every year.
Recycled polyester, bamboo blends, and organic cotton are emerging as eco-friendly options in golf apparel.
Recycled PET bottles are being transformed into performance fabric that feels just like virgin polyester—but with a smaller carbon footprint. Bamboo is naturally soft, breathable, and antibacterial, making it a smart pick for sustainable brands.
Sustainability Meets Performance
One of our clients recently switched to a recycled polyester/spandex blend for their new collection. Same moisture-wicking feel, same stretch, but way more environmentally friendly. And their customers? Loved it.
Eco-fabrics to watch:
- Recycled Polyester: Made from plastic bottles, good performance, great for the planet.
- Bamboo Viscose: Ultra-soft and naturally odor-resistant.
- Organic Cotton: Grown without pesticides, but best used in blends for durability.
It’s exciting to see sustainability becoming more mainstream in golf fashion. The technology's finally catching up with the mission.
Conclusion
The right golf shirt fabric balances comfort, stretch, and sweat-control—so you can stay focused on your game, not your gear.
Golf Shirt Pattern Design: How Prototypes Ensure Perfect Fit

Behind every perfectly fitting golf shirt is a prototype that’s been tweaked, tested, and trusted—before it ever hits production.
Golf shirt pattern design starts with digital or hand-drawn patterns that are adjusted and refined through prototypes to ensure an ideal fit and function.
Prototypes help identify issues in shoulder movement, body length, sleeve taper, and collar shape—crucial for both comfort and performance. It’s a process that combines creativity with precise measurement and real-world testing.
Here’s how the perfect fit gets engineered.
(1) Why do prototypes matter in golf shirt design?
You can’t guess your way to a great fit—it has to be tested.
Prototypes help brands fine-tune the fit, fabric behavior, and construction before mass production.
Without them, you risk bulk orders of ill-fitting shirts. Prototypes allow you to catch issues early, see how the garment drapes on real bodies, and make sure movement feels natural—especially during a golf swing.
Where Patterns Meet the Player
I remember working with a client who was launching their first golf polo. On paper, the pattern looked perfect. But when we made the first sample? The sleeves pulled awkwardly during the backswing. We had to shift the armhole curve and slightly adjust the shoulder slope. That tiny tweak changed everything.
A good prototype helps test:
- Arm mobility
- Body and sleeve length
- Collar roll and height
- Chest and waist taper
This is where function meets feel. You need to see how the shirt behaves when it’s worn, moved in, and even sweated in.
(2) What’s the starting point for a golf shirt pattern?
It all begins with a base size and style vision.
Designers usually start with a basic block pattern—a template for a polo shirt—then adjust it based on style, fit (slim, classic, athletic), and intended fabric stretch.
CAD software is often used to create precise digital patterns, though some factories still start with hand-drawn versions for more custom work.
Building the Blueprint
Think of the pattern as a shirt’s blueprint. It includes every part—front panel, back panel, sleeves, collar, placket, and even the tiny neck tape strip. Each curve and line affects how the shirt fits.
Here’s how pattern development flows:
- Choose a base block (usually based on standard sizing)
- Adjust for style (slim-fit, drop-tail hem, raglan sleeve, etc.)
- Factor in fabric stretch (less stretch = more room needed)
- Create digital files for cutting machines
We often develop multiple pattern sets for different body types or markets. A slim-fit for the European golfer might feel too tight for an American audience used to roomier cuts.
(3) How many prototypes are usually made?
Usually, more than one—sometimes up to three or more.
Most brands make 2–3 rounds of prototypes to test and refine pattern, fit, and finishing details.
The first is called a fit sample, followed by a pre-production sample once revisions are applied. If changes are still needed, a final salesman sample is made for presentation and approval.
Trial, Error, and Then Success
Here’s a real example: For one of our custom collections, we went through three rounds of sampling.
- Sample 1: Fit was too boxy; sleeves were too long.
- Sample 2: Adjusted taper and added 1cm to collar height.
- Sample 3: Nailed it—clean look, perfect movement.
Don’t be discouraged if your first sample isn’t perfect. It almost never is. The goal is progress, not perfection on round one.
| Prototype Round | Purpose |
|---|---|
| Fit Sample | Check pattern and sizing |
| Pre-Production | Approve bulk construction |
| Salesman Sample | For marketing & retail use |
(4) How do pattern adjustments affect shirt performance?
Even small tweaks make a big difference on the course.
Pattern changes can improve swing mobility, reduce fabric bunching, and enhance airflow and style.
For example, adjusting the shoulder seam angle improves how the shirt follows your shoulder during rotation. Tapering the body prevents excess fabric from riding up during play.
Every Centimeter Counts
When I design patterns, I think about how someone plays—not just how they look standing still. That’s why:
- I avoid bulky shoulder seams—they interfere with rotation.
- I prefer raglan or set-in sleeves with reinforced mobility zones.
- I raise the back hem slightly to keep the shirt tucked during swings.
Want your logo to stay centered during movement? That’s a pattern detail too.
Pattern design isn’t just about aesthetics—it’s about engineering a shirt that works as hard as the player wearing it.
Conclusion
A golf shirt that fits just right doesn’t happen by luck—it’s the result of thoughtful pattern design and carefully tested prototypes.
Golf Shirt Fabric Cutting Process: Precision Matters
Before stitching even begins, there's a silent hero in golf shirt making: the cutting process. It’s where precision sets the tone for fit, feel, and flow.
The golf shirt fabric cutting process involves laying fabric in layers and using digital or manual cutting tools to carve out pattern pieces with high precision.
Using CAD software, factories ensure each panel—from body to sleeve—is shaped perfectly. Mistakes here can throw off the entire fit, waste fabric, or mess with logo placement.
Let me walk you through why cutting isn’t just technical—it’s strategic.
(1) Why is fabric cutting so important in golf shirt production?
Because once it’s cut wrong, there’s no turning back.
Precision in cutting determines how well the shirt will fit, how much fabric is wasted, and how smoothly it will sew together later.
It’s the bridge between a digital pattern and a real product. Poor cuts mean uneven hems, twisted seams, and shirts that just feel off.
Cut Once, Cut Right
I’ll never forget the time a batch of shirts came back slightly off-center. Turned out the cutter misaligned the fabric grain. Just that tiny shift made the entire shirt hang weirdly—like it was leaning left. We had to scrap 300 pieces. Painful lesson.
Cutting accuracy protects:
- Fit consistency
- Design alignment (especially for printed or striped fabrics)
- Production efficiency (less waste = lower cost)
- Comfort (fabric grain affects stretch and drape)
In other words, the blade sets the stage.
(2) What does the cutting process look like?
It’s a mix of tech and touch—machines for precision, hands for control.
Factories typically spread multiple layers of fabric on large cutting tables, then use automated cutting machines or manual tools to slice out the pattern pieces.
Before cutting, fabric is rested to release tension (called “relaxing”), then stacked. CAD software guides the layout, ensuring every inch of fabric counts.
Behind the Cutting Table
Here’s how a cutting session usually goes down:
- Fabric Relaxation – Let the fabric rest for 12–24 hours to avoid shrinkage later.
- Spreading – Lay out 20–60 layers (depending on fabric thickness).
- Marker Making – Use CAD to arrange pattern pieces with minimal waste.
- Cutting – Automated blade or laser cutters follow digital patterns.
- Bundling – Cut pieces are grouped by size and part for sewing.
Cutting is both a science and a puzzle. The goal is maximum precision with minimum waste.
| Cutting Method | Best For | Precision Level |
|---|---|---|
| Manual Cutting | Small runs, complex fabrics | Medium |
| CNC Blade Cutting | Large runs, solid colors | High |
| Laser Cutting | Technical or synthetic fabrics | Very High |
(3) How does cutting impact the final product?
More than you’d expect.
Accurate cutting ensures that all shirt components match up during sewing, that logos land where they should, and that the shirt performs and fits as designed.
Misaligned sleeves? Uneven hems? Probably a cutting issue. Even branding consistency—like embroidered logos—relies on proper panel placement.
From Cut to Confidence
Imagine two shirts—same fabric, same pattern. One fits like a glove. The other feels sloppy. The difference? The cut.
When I help brands develop their first line, I always emphasize investing in good cutting. It doesn’t matter how great your design is—if your panels are off by even a few millimeters, you’ll feel it in the shoulders, the chest, the hem. It’s like trying to run in shoes that are a half-size too small.
(4) Can mistakes in cutting be fixed?
Not really—and that’s why prevention is key.
Once a panel is cut, it’s difficult (and costly) to correct mistakes, especially if they involve fit-critical areas like the collar or sleeve cap.
Sometimes, fabric can be reused for smaller sizes or trims, but in most cases, errors mean waste.
Prevention > Correction
In one factory I worked with, they installed a camera-assisted cutting system that checks grain alignment in real time. It cut their cutting errors by over 70%. Smart move.
Here’s how brands minimize cutting mistakes:
- Pre-cutting checks on fabric grain and shrinkage
- Digital markers to avoid overlaps or missing edges
- Quality control during spreading and blade calibration
A little extra care at the cutting table saves thousands later in production.
Conclusion
In golf shirt manufacturing, precision cutting isn’t just step one—it’s the foundation of a flawless fit and feel.
Golf Shirt Sewing Process: Step-by-Step Assembly Guide
Sewing is where everything comes to life—the moment flat fabric pieces become a golf shirt with personality, structure, and swing-ready style.
The golf shirt sewing process involves assembling the cut fabric panels—front, back, sleeves, collar—using specialized machines and techniques to ensure comfort, durability, and a clean finish.
Each step is handled in sequence: shoulder seams, sleeves, side seams, collar, placket, then hems. Specialized stitches and machines are chosen based on fabric type and shirt design.
Let’s walk through how a pile of panels becomes your favorite shirt.
(1) What’s the first thing sewn on a golf shirt?
It all starts at the shoulders.
The shoulder seams are sewn first to connect the front and back panels, forming the foundation for everything else.
This step often uses an overlock or flatlock machine, depending on whether the designer wants a clean seam or one that lies ultra-flat—especially important for comfort under a golf bag strap.
Building the Frame
The shoulder seam holds a lot of responsibility. A bad one throws off the balance of the whole shirt—too tight, and it restricts your swing; too loose, and the collar flops. I once had to redo a whole production run because the wrong tension setting made the shoulder seam pucker. Painful, but a great lesson.
Common machines used:
- Overlock (Serger): Neat, stretchy seams
- Flatlock: Super-flat seams for comfort
- Coverstitch: For hems and decorative seams
You’ve gotta get the shoulders right—because everything else builds on them.
(2) What comes next after the shoulders?
Next up: sleeves and side seams.
Sleeves are attached either flat (before side seams) or in the round (after), followed by closing the side seams from armpit to hem.
The method depends on the shirt’s style and factory preference. Flat insertion is faster and more common in mass production.
Sleeves: Freedom to Swing
Have you ever worn a shirt that pulls at the underarm during your backswing? That’s usually a sleeve angle issue—or poor seam alignment. In prototyping, I always test mobility here.
Once sleeves are set, the side seams bring the body together. This step defines how the shirt drapes. Tapered side seams = athletic fit. Straight seams = relaxed fit.
| Part | Stitch Type | Machine Used |
|---|---|---|
| Sleeves | Overlock/Chainstitch | 4-thread overlock |
| Side Seams | Overlock | 5-thread serger |
| Underarm Reinforce | Bartack | Bartack machine |
(3) How is the collar and placket assembled?
Ah, the collar—the crown of any polo shirt.
The collar and placket are sewn next, using a mix of straight stitching, interfacing, and precision pressing.
The placket is often pre-constructed, then sewn to the front. Collars are attached last, then turned and topstitched to lie flat.
The Collar Test
A sloppy collar ruins the whole look—no matter how great the fit is. I’ve spent hours perfecting collar shapes with clients. Too floppy? It looks cheap. Too stiff? It digs into your neck.
Steps include:
- Interfacing added to keep structure
- Placket sewn onto front panel
- Collar attached and topstitched
- Buttons or snaps applied with precise spacing
Good collars sit snug, not tight. Great collars stay that way even after 20 washes.
(4) What finishing touches are sewn last?
We’re almost there—time for the polish.
Hems, labels, and small reinforcements (like bartacks at high-stress areas) are sewn last to ensure a clean, durable finish.
The bottom hem is often done with a coverstitch machine for stretch and flexibility. Labels can be sewn inside or heat-transferred for a tagless feel.
Details Make the Difference
I always remind my clients: the last 10% of the shirt can make it or break it. A clean hem, centered label, and secure placket stitch—these are the details customers notice.
Final touches include:
- Hem using double-needle or coverstitch
- Label sewing or heat transfer
- Final logo embroidery (if not pre-sewn)
This is where your shirt officially becomes your brand. Every stitch counts.
(5) How long does the sewing process take?
It depends on volume and complexity.
In bulk production, it takes about 10–15 minutes per shirt on a line—each worker sewing one specific part. For small-batch or custom pieces, it may take 30–60 minutes per shirt.
The process is fast, but it takes practice to be fast and flawless.
From Pieces to Performance
Watching a pro sewer do their thing is amazing. It’s like muscle memory and rhythm combined. One operator attaches 300 collars a day. Another does sleeves without even looking down.
But it’s not just speed—it’s consistency. A good factory invests in training, quality checks, and machine maintenance to keep every stitch tight and every shirt flawless.
Conclusion
Every golf shirt starts as parts and patterns—but it’s the sewing process that brings it to life with structure, style, and swing-friendly performance.
Branding and Finishing Golf Shirts: Heat Press, Logos & More
A golf shirt isn’t truly yours until the logo’s on—and the finishing touches are what turn a blank canvas into a brand statement.
Branding and finishing a golf shirt involve adding logos through heat press, embroidery, or screen printing, plus final touches like tagging, folding, and packing.
The right logo placement, finishing technique, and presentation elevate your shirt from basic apparel to professional-grade product. These final steps build brand identity and customer experience.
Let’s explore what gives a golf shirt its final polish.
(1) How are logos usually added to golf shirts?
There are a few ways, and each has its own vibe.
The most common logo methods for golf shirts are heat transfer, embroidery, and screen printing—each suited to different fabrics, designs, and brand aesthetics.
Heat press is clean and modern, embroidery gives texture and prestige, and screen print is bold and flat. Choosing the right one depends on your look, budget, and fabric type.
Picking the Right Branding Technique
I once worked with a startup brand that wanted a super sleek, techy vibe. We tested embroidery first, but the stitches pulled the fabric and made the shirt pucker. Switched to heat transfer, and it looked amazing—flat, bold, and smooth.
Here’s a quick breakdown:
| Method | Best For | Pros | Cons |
|---|---|---|---|
| Heat Transfer | Polyester, spandex blends | Lightweight, sharp details | Can peel if low-quality |
| Embroidery | Cotton or thick performance | Premium feel, durable | May distort thin fabrics |
| Screen Printing | Bold graphics, larger logos | Cost-effective for bulk | Cracks over time if not cured |
Think about your brand’s personality—modern? Classic? Sporty? That should guide your choice.
(2) Where should logos be placed?
Placement isn’t just design—it’s strategy.
Common logo placements for golf shirts include the left chest, right sleeve, nape (back neck), and lower hem. Each spot offers a different visual impact and functional purpose.
Chest logos say “This is who we are.” Sleeve or neck branding feels more subtle and premium. Choose placement that matches your brand vibe and end-use.
Strategic Logo Placement
For one high-end brand I helped, we chose a tone-on-tone embroidery at the sleeve—classy, understated, but visible when holding a club. Another client wanted bold chest logos for tournaments and team wear. Both worked. It’s about audience.
Typical placements:
- Left Chest – Classic and visible
- Right Sleeve – Modern, great for secondary logos
- Back Neck (Nape) – Discreet, stylish branding
- Hem Tag – Small but effective detail
Some brands use multiple logos—just keep balance in mind. You want it branded, not billboarded.
(3) What other finishing touches are included?
Beyond logos, the finishing process adds polish and professionalism.
Finishing touches include size and care labels, hangtags, hangers or polybags, folding, steaming, and final QC.
Whether you’re shipping direct to consumer or selling in pro shops, presentation matters. A neatly folded, tagged shirt feels ready-to-wear and premium.
Finishing = Brand Experience
I’ll never forget unboxing the first sample batch of FUWAY shirts. Each one came perfectly folded, crisp from steam, with a branded tag tucked in the placket. It felt legit. Like we weren’t just making shirts—we were building a brand.
Here’s what happens during finishing:
- Care labels (sewn or heat transferred)
- Hangtags (brand story, size info, QR codes, etc.)
- Folding & Bagging (custom folds, eco or branded bags)
- Final Pressing (to remove creases and prep for packaging)
- Last QC Check (for loose threads, marks, or packaging errors)
Some brands even customize buttons, use contrast stitching, or add hidden messages on labels. These tiny details turn customers into fans.
(4) Can you do custom branding for small orders?
Yes—if you work with the right supplier.
Many manufacturers now offer low MOQ (minimum order quantity) branding options using heat transfer or embroidery, especially for startup golf brands.
While large-scale custom molds or woven labels might require bulk orders, simple logo applications can be done with as few as 50–100 shirts.
Start Small, Think Big
When I started helping indie brands, this was a game changer. You no longer need to order 1,000 shirts to see your logo on quality apparel. We often help clients start with a small branded capsule—maybe 100 shirts, a sleeve logo, and custom tags. It gets their foot in the door without draining their budget.
Low-MOQ branding options include:
- Heat transfer logos
- Pre-made hangtags with your logo stickered on
- Woven size labels with generic care info
As your brand grows, you can upgrade the finishes. But early on? Keep it simple, clean, and consistent.
Conclusion
Branding and finishing turn a good golf shirt into your golf shirt—distinct, professional, and ready to represent your brand on and off the course.
Golf Shirt Quality Control Checklist: What Gets Inspected

You can have the best fabric, design, and branding—but if quality control slips, it all falls apart. QC is where good shirts become great.
A golf shirt quality control checklist covers stitching, measurements, fabric flaws, color accuracy, logo placement, and overall appearance.
Inspectors check every detail—shoulder seams, button alignment, size specs, even packaging—to ensure the shirt meets both performance and aesthetic standards before it’s shipped.
Let me walk you through exactly what gets checked (and why it matters).
(1) Why is quality control so important for golf shirts?
Because one small flaw can ruin the customer experience—and your brand reputation.
Quality control ensures every golf shirt looks good, fits right, and performs as expected.
Whether it's a crooked logo or an itchy seam, poor QC leads to returns, refunds, and lost trust. It’s not just about catching defects—it’s about delivering consistency.
First Impressions Count
I’ve seen it firsthand: one batch with just a few off-center logos, and suddenly your customer’s saying, “This feels cheap.” That one moment can undo months of work.
Good QC protects:
- Brand trust
- Customer satisfaction
- Cost efficiency (fewer returns and replacements)
- Your reputation in wholesale or retail markets
In short: it’s the last line of defense.
(2) What parts of the shirt are inspected?
From top to bottom—literally.
Inspectors check everything from fabric quality to fit, seam strength, collar shape, logo placement, stitching, and even the packaging.
Each area has its own criteria, and even small inconsistencies can be flagged for repair or rejection.
The Full QC Checklist
Here's what typically gets reviewed:
| Area Checked | What They Look For |
|---|---|
| Fabric | Holes, stains, dye inconsistencies |
| Stitching | Loose threads, skipped stitches, seam alignment |
| Collar & Placket | Straightness, symmetry, puckering |
| Sleeves & Hems | Evenness, thread tension, correct length |
| Logo/Branding | Placement, alignment, print/embroidery quality |
| Measurements | Chest, shoulder, length, sleeve match size spec |
| Color Consistency | Across sizes and batches |
| Labeling & Tags | Correct size, care info, brand name visible |
| Packaging | Proper folding, polybag sealed, no dust or creases |
Each shirt usually has a tolerance—for example, ±0.5 cm for chest width. Go beyond that, and it’s flagged.
(3) How are golf shirts measured for accuracy?
By following a “spec sheet”—think blueprint for sizing.
Every shirt is measured according to a pre-approved size chart, checking key dimensions like chest width, body length, shoulder width, and sleeve length.
Inspectors use soft tape measures and flat tables to ensure accuracy, comparing each measurement against the spec sheet.
Don’t Wing It—Measure It
One time, I had a batch that was technically large size, but the shoulder width came in almost 2 cm narrower than spec. Looked fine on the hanger—but it felt tight on the course. We had to redo the lot. That’s how crucial specs are.
Standard golf shirt measurement points include:
- Chest (1" below armpit)
- Shoulder (seam to seam)
- Body length (from shoulder to hem)
- Sleeve length (shoulder seam to sleeve end)
Everything has to line up—because customers notice when it doesn’t.
(4) Who performs the quality control checks?
QC can be done in-house, by third parties, or both.
Quality checks are usually performed by trained inspectors within the factory, third-party QC companies, or sometimes by the brand’s own team before shipment.
For small runs, even brand founders do it themselves (yup, been there). For bulk orders, third-party inspections give extra peace of mind.
Trust, but Verify
I always tell new clients: never skip QC. Even if your factory is great, mistakes still happen. A good QC process includes:
- Inline inspection (during sewing)
- Final inspection (after full assembly)
- Random checks across production lots
Some brands also ask for AQL reports (Acceptable Quality Limit)—a standardized inspection process that samples a percentage of the batch.
| QC Type | When It Happens | Purpose |
|---|---|---|
| Inline QC | During production | Catch early issues |
| Final QC | Post-assembly, pre-pack | Ensure finished quality |
| Pre-shipment QC | Before leaving factory | Last defense before delivery |
(5) What happens when defects are found?
Depends on how bad it is—and how many.
Minor defects (like a loose thread) can be repaired; major ones (like off-spec sizing) may be reworked or rejected entirely.
The goal is to solve problems before they reach your customer. That might mean re-sewing, replacing logos, or even re-cutting fabric.
Fix It or Scrap It?
Here’s how issues are usually classified:
- Minor Defect: Can be fixed on-site (e.g., thread trim, steam collar)
- Major Defect: May need rework (e.g., crooked stitching, logo misplacement)
- Critical Defect: Cannot be sold (e.g., holes, stains, wrong branding)
If a batch has too many critical issues, it might be rejected entirely—and remade at the factory’s cost. But trust me, no one wants to get to that point.
Conclusion
A great golf shirt isn’t finished until it’s inspected. Quality control ensures that every piece you deliver matches your vision, your specs, and your standards.
How Golf Shirts Are Packed and Shipped: Final Steps in Production

The final stretch—where golf shirts go from factory floor to your warehouse, your store, or straight to your customer. This is where presentation and protection come together.
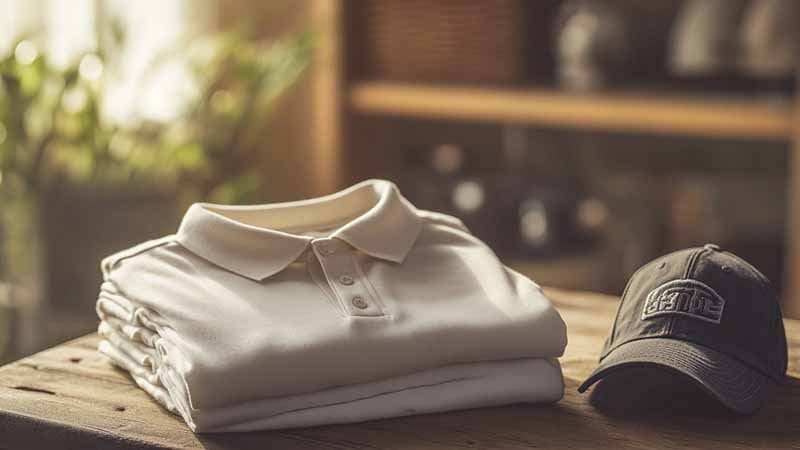
Golf shirts are packed and shipped after a final inspection, folding, tagging, and packaging process. Each shirt is typically steamed, neatly folded, inserted into a polybag, and packed into cartons for shipment.
Shipping can be done by air, sea, or courier depending on cost, speed, and quantity. Done right, this step protects the product and reinforces your brand’s professionalism.
Here’s what happens before the shirts land in your hands.
(1) What happens after the final QC check?
It’s time to get things folded, tagged, and packed up.
After quality control, shirts are steamed to remove wrinkles, folded to spec, and packaged in individual bags. Labels, hangtags, or custom wrapping are added depending on your branding needs.
Some brands even include tissue paper, QR code inserts, or branded stickers for an elevated unboxing experience.
The Packing Room: Where Polish Meets Process
I still remember my first factory visit to watch shirts being packed. There were rows of steamers puffing like little chimneys and a whole team folding shirts like origami pros—crisp, consistent, perfect.
Typical packing steps:
- Steaming – Removes wrinkles and sets the shape.
- Folding – According to brand instructions or industry standard.
- Bagging – Into clear polybags or branded eco-friendly sleeves.
- Tagging – Hangtags, price labels, and care guides.
- Carton Packing – Shirts grouped by size, style, and color, packed into master cartons.
| Shirt Quantity | Fold Style | Bag Type |
|---|---|---|
| < 200 pcs | Manual folding | Clear polybag |
| 200–1,000 pcs | Template-based fold | Branded bag |
| > 1,000 pcs | Machine-assisted | Heat-sealed bag |
Clean packing isn’t just for looks—it prevents damage and boosts perceived value.
(2) How are shirts grouped in cartons?
There’s a method to the madness.
Shirts are packed into cartons by SKU (style, size, color), usually in pre-decided ratios, with packing lists attached to ensure accurate inventory tracking.
This makes it easy for distributors or brand owners to unpack and sort quickly once it arrives.
Packing for Efficiency
I worked with one client who had 5 colors and 6 sizes per shirt style. If you don’t organize that well in cartons, fulfillment becomes a nightmare. So we created a simple ratio—like 2S / 3M / 3L / 2XL per carton. It made warehouse sorting a breeze.
Carton labels usually include:
- Style code & name
- Color & size breakdown
- Quantity per box
- PO or batch number
This info keeps things clean, fast, and trackable.
(3) What are the shipping options for golf shirts?
Air, sea, or express—each has its place.
Shipping methods depend on volume, urgency, and cost. Sea freight is best for bulk orders, air for medium-sized runs, and couriers (like DHL/UPS) for small batches or samples.
Freight forwarders help arrange the shipping, paperwork, and customs clearance.
Picking the Right Route
Here’s how I help brands decide:
- Sea Freight – Takes 25–35 days, lowest cost per unit, best for large orders.
- Air Freight – 5–10 days, moderate cost, good balance for mid-volume.
- Courier (DHL, FedEx) – 2–7 days, highest cost, but fastest and simplest.
| Method | Speed | Best For | Notes |
|---|---|---|---|
| Sea Freight | Slow (25–35d) | Large orders (1,000+ pcs) | Need to plan ahead |
| Air Freight | Medium (5–10d) | Mid-size (200–800 pcs) | Higher per-unit shipping fee |
| Courier | Fast (2–7d) | Samples, urgent orders | Door-to-door simplicity |
We often ship new client samples by courier, first small batch by air, and scale-up production by sea.
(4) How do you protect shirts during shipping?
Protection starts from the fold and ends at the seal.
Cartons are sealed with waterproof tape, sometimes double-walled, and stacked on pallets for large shipments. Inside, silica gel packs are added to prevent moisture damage during transit.
Shrink wrap and corner protectors are also used for sea freight.
Don’t Let Transit Ruin Your Product
I once had a client’s boxes get soaked during unloading at a rainy port. Since we’d used moisture-proof bags and sealed cartons, not a single shirt was damaged. Lesson: it’s not just what you ship—it’s how you ship.
Best practices:
- Use moisture-absorbent packets (especially for sea)
- Seal polybags airtight
- Reinforce corners for long-haul shipments
- Label fragile or top-load boxes clearly
Your shirt might be perfect—but if it shows up wrinkled or water-stained, that’s what your customer will remember.
Conclusion
The packing and shipping stage is more than just logistics—it’s the final handshake between your brand and the world. Do it right, and every shirt arrives ready to impress.
Final Thoughts: Why Process Matters
The golf shirt isn’t just a fashion piece — it’s a performance product, carefully engineered to meet the demands of the sport and the expectations of consumers. From fabric performance to collar durability and logo detailing, every step impacts the final experience.
As the golf apparel industry shifts toward eco-conscious, functional, and digitally precise manufacturing, understanding this process helps brands design better — and helps consumers choose smarter.